So here are some Christmas/holiday blog designs. I would have posted them sooner but my computer (which is now about four years old) has been very slow! But here they are. Let me know what you think.
Friday, December 5, 2008
Tuesday, October 28, 2008
Fall looks
Fall is my favorite season. I absolutely love sweater weather, where you can substitute a sweater for a coat. Not to mention, I love the autumnal colors on the trees. So in honor of my favorite season, these designs are fall inspired.
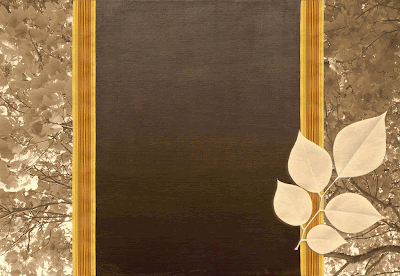 http://i286.photobucket.com/albums/ll81/jngrl7/sepiatree_fall.gif
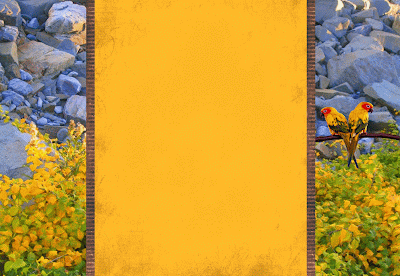 http://i286.photobucket.com/albums/ll81/jngrl7/yellowbirds_fall.gif
 http://i286.photobucket.com/albums/ll81/jngrl7/sepiatree_fall.gif
 http://i286.photobucket.com/albums/ll81/jngrl7/yellowbirds_fall.gif
Friday, September 26, 2008
Rainy day designs
So today is rather rainy and chilly here in the Boston area, so I threw on my turtleneck and cozied up to the computer for some more designing. Here's what I've done.
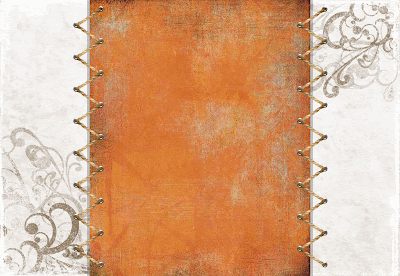 http://i286.photobucket.com/albums/ll81/jngrl7/orangetwine.gif
 http://i286.photobucket.com/albums/ll81/jngrl7/orangetwine.gif
Just a reminder, to learn how to put these on your blog click the "How To" label on the right.
Sunday, September 14, 2008
A more masculine touch
So I realized I have been partial to my female market, and haven't been appealing to my more masculine readers. So here's my attempt at more masculine templates.
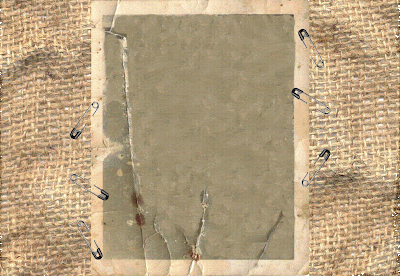

http://i286.photobucket.com/albums/ll81/jngrl7/Ppinnedtogether.gif
 http://i286.photobucket.com/albums/ll81/jngrl7/YellowTree-1.gif
 http://i286.photobucket.com/albums/ll81/jngrl7/blueandorangewallpaper.gif
 http://i286.photobucket.com/albums/ll81/jngrl7/YellowTree-1.gif
 http://i286.photobucket.com/albums/ll81/jngrl7/blueandorangewallpaper.gif
I know this last one isn't as masculine as the rest, but I'm trying....
Sunday, September 7, 2008
Someting old, something new....
Here are a few more templates. Some I had posted on my other blog and some are new.
Saturday, September 6, 2008
Debut
Here's my debut of my template on my new blog! The links to paste into your own blog are below each picture. To learn How To do this yourself click the How To label on the right. There will be more coming!
How To Create Your Own Blogger Template
So here's how to create your own blog template.
1. You need to download digital scrap booking elements. They are exactly like what you would buy for conventional scrap booking (like ribbons, papers, alphabets, sticker, etc.) but they are digital! You can find them all over the place for free...but I like to use digiscrapdepot.com. Go to their freebies page, search for things, and it will take you directly to the designer's websites. A lot of websites are in other languages...so you might learn a few words like the word "free" in French or German. (WARNING: these files are rather large, because essentially they are pictures...)
2. Figure out which design program works best for you. I think Adobe Illustrator or Photo Shop would work the best, but I don't have either of of those, so I use Microsoft Publisher. You can also use Microsoft PPT or any other program that lets your design things. You need to create a canvas that's abou 14.5" wide and 10" high.
3. Then copy and paste elements into your workbook and start designing! You need to make the middle panel, where your blog posts will be about 7.5" to 8" wide.
4. When you're done bedazzling your design, save what you have made as a picture. In publisher, all you have to do is group all the elements into one object and right click and save as picture.
5. Then create an account on photobucket.com. Upload your picture to photobucket, making sure you choose the option to reduce to 1 megabyte file size, which will allow that your template will cover the whole screen.
6. After you have uploaded your picture, underneath it you can copy the direct link for that picture. This is the direct link that I have referred to in the previous post on how to change your blog template.
It's fairly simple, but if you have trouble just send me a note and I will see if I can help you out!
How To Add a New Template
So here's how to add a new template into your blog:
Log into your blog
Then click on "edit HTML:" and scroll down to where it says:
body { background:$bgcolor; margin:0; color:$textcolor; font:x-small Georgia Serif; font-size/* */:/**/small; font-size: /**/small; text-align: center;
Change that part of the code to say this:
body {
background:$bgcolor;background-image:url(direct link);background-position: center; background-repeat:no-repeat; background-attachment: fixed;
margin:0; color:$textcolor; font:x-small Georgia Serif; font-size/* */:/**/small; font-size: /**/small; text-align: center;
Now copy the address of the picture where it says "direct link"
Click Save!
Saturday, August 30, 2008
Grand Opening
So lately, since I've had so much time on my hands...I have been delving a lot into the world of blogger template designs. I'm not very good at it, but I am learning a few tricks here and there. I thought I would create a blog just devoted to my templates. I think this is more of a creative outlet for me rather than me providing a service to others. I find a lot of enjoyment in doing this...except when my computer runs slow!
Anyway, I will periodically post my new designs on here for your use. I'm really not looking to gain a profit from this...so feel free to use my designs and give me your feedback.
I will put the directions of how to design and change your templates on the blog so you can do it yourself too.
Anyway, I will periodically post my new designs on here for your use. I'm really not looking to gain a profit from this...so feel free to use my designs and give me your feedback.
I will put the directions of how to design and change your templates on the blog so you can do it yourself too.
Subscribe to:
Comments (Atom)


